Showing posts with label Bathroom Decorating. Show all posts

Monday, March 10, 2014

Easy Multi-Holiday Decor DIY


This is a Fun, Fast and EASY holiday craft that wont break the bank.
 The big bonus...It's reversible so you get multiple holiday use out of it!
( I made 2 sets so the above pic shows both sides)
 
Items Required: Mod Podge, Wooden Cubes (available at any Craft Store or ask Lowes to cute a 2" x 2" x 6' stick for you into cubes) Patterned paper cut into cute shape (I used my Cricut) and Vinyl Lettering (I used my Cricut, you can also buy letter stickers at ANY craft store)

Paint your wooden cubes
(I used white Valspar spray paint but you could use any color or type of paint you like) 

Next get out your Mod Podge and liberally apply it to one side of the cube 

Now Apply a layer of Mod Podge to your paper and place paper
on your Mod Podged surface. Let dry at least an hour.
 

Now apply your letters and apply another healthy layer of Mod Podge to seal the whole thing. Let dry another hour (waiting is the HARDEST part!)
 
Now repeat the whole process on the side of your cube
OPPOSITE the one you just finished.


Now you have a fun festive little decoration that you can use for multiple holidays!
I did Valentines "Love" and St. Pattys "Luck" but the possibilities are endless (Easter with "EGGS" ! )

* Note: I considered doing more than the 2 sides but realized that if you do the other sides kinda show when you display. Doing the 2 sides ensures that you wont see the other design.

Monday, December 16, 2013

Christmas Time Fun

Where have I been?!?!?

I have been a terrible Blogger lately.  We have been swept up in the season and enjoying lots of festive fun and I have neglected to keep up with the blog.

Here is a little sampling of the fun we have been having...

Up next.... a Craft tutorial, a new recipe, and baking fun....


A visit with Santa


Decorating....


Enjoying the beautiful lights of Temple Square


Christmas Shopping with my BEST Buddy!


Listening to "ECLIPSE" at the FM100 Christmas Concert


Saw Disney's "Frozen" LOVED it!


Tuesday, November 5, 2013

Sometimes it's better just to fork out the money....


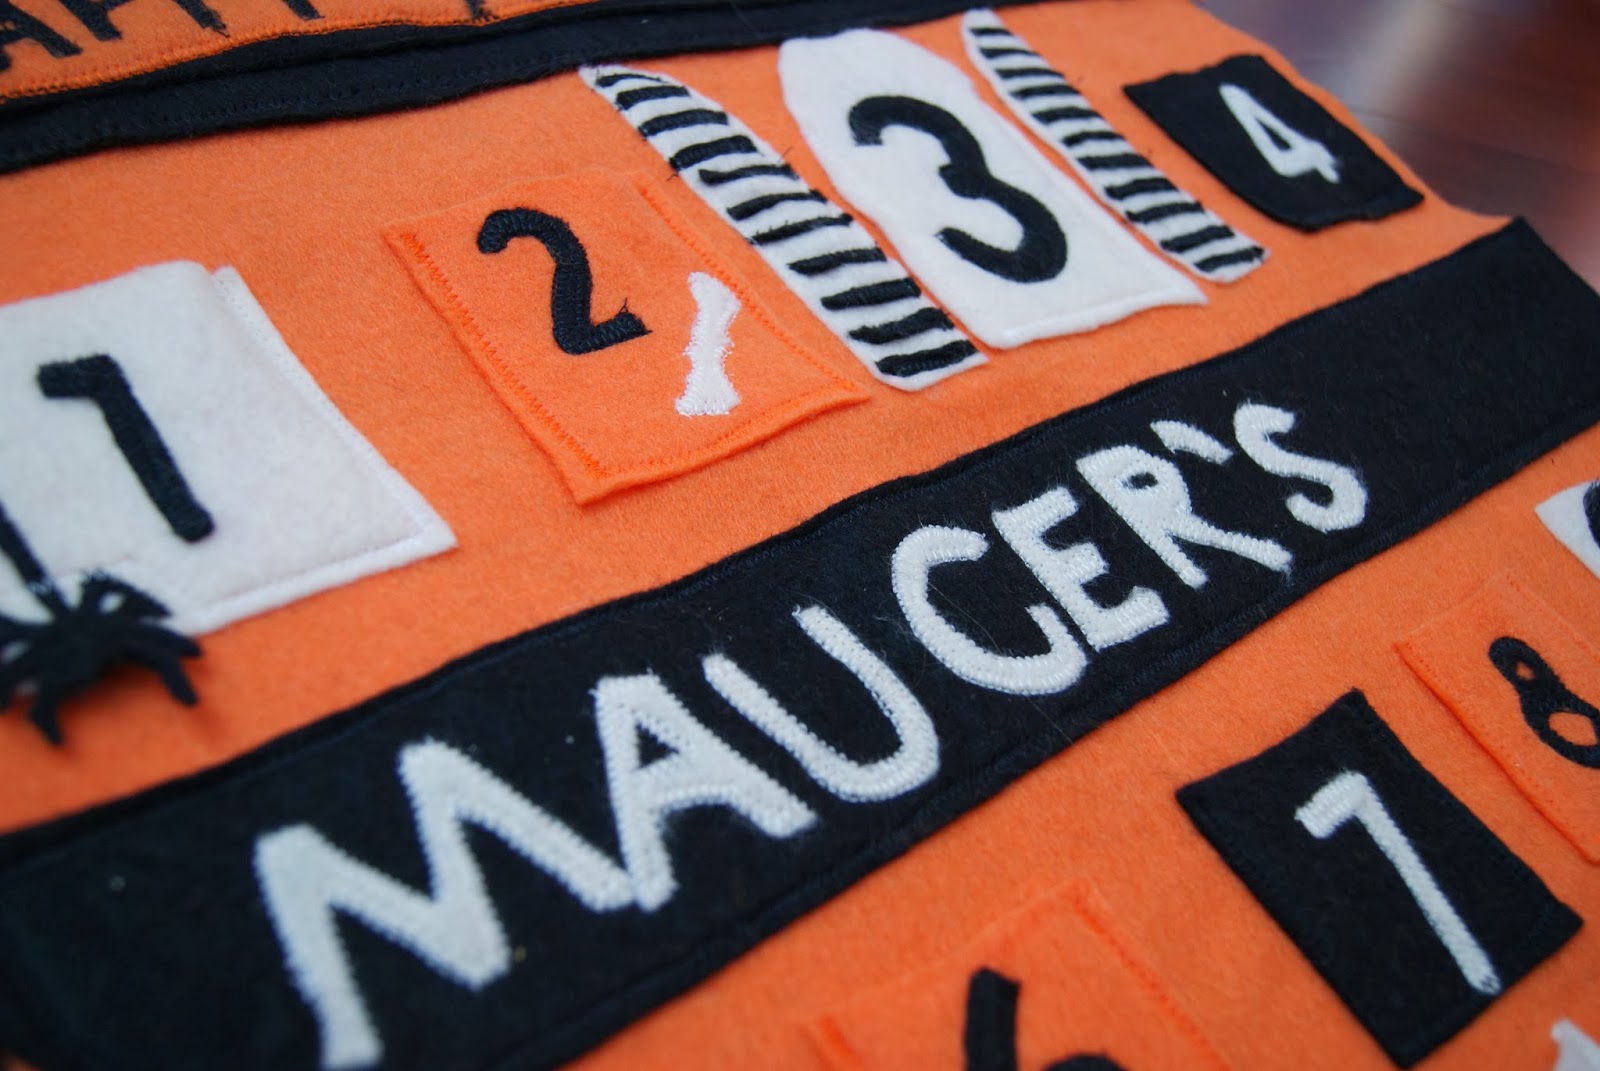
Last night I finished up my big Halloween craft project. Yes, you read that correctly... Last night (November 3) I finished up my Halloween Project.

Let me tell you the whole story.... Last year Pottery Barn Kids had this felt Halloween advent calendar that I fell in LOVE with. I was however NOT in love with the $59 price tag.

I raced over to Pottery Barn on November 1st last year in hopes of scoring one on clearance, no such luck. They were super popular and had sold out well before Halloween. Then I thought, DUH Jenn you could totally make that! So I raced over to JoAnns fabric and bought $3 of felt and tucked it away with my Pottery Barn Catalog to create next year.

Fast forward to this year... I started the project at the end of September thinking well it should take a few nights but I should be able to get it done in time for October 1st. How very naive I was!!!

First off I had planned on cutting all the little shapes and numbers with my cricut. Note: Cricut's can not cut felt. So I ended up cutting it all by hand. This doesn't seem like such a big deal but it was VERY time consuming. I didn't even get it all cut before October 1st.

Then I had it all cut and laid it all out and WOW it looked just like the Pottery Barn one and I was again jazzed about the project. I did not however consider the time it would take to applique on almost 200 tiny shapes. I worked on this sucker almost every night in October (I took off a few nights when I had a nasty cold). I finally put in 5 hours on November 3rd and got it done.

Granted it did only cost me $3 in fabric and probably $6 in thread (I used 2 entire spools and part of 3 others) it took me over 100 HOURS!!! Yes, that was not a typo... over 100 hours!!! That means if you consider the $60 original price I worked for $.60 an hour!!!  I SO should have just bought it to begin with!

 I have this idealized notion that this is something my kids will cherish for years. They will show their kids...look what your grandmother made. It probably will end up barely used, tucked away with all the other Halloween stuff.


Inspiration


With Big A for scale...

Monday, April 30, 2012

Bathroom Decorating


It is finally done!! We have had the basement bathroom finished for over a year but it had no style, no pizzaz. I have searched and searched for art that really worked, I was especially drawn to vintage bath pics of kids.  Then I looked in my own bathtub. I got some cute shots of A and A and had them printed in black and white. I got some fun thrift store frames and spray painted them glossy white (The oval frame was an old gold one that my mom actually found in storage right after I told her I was looking for an oval frame! score!) I think it turned out nice and classic looking with a personalized touch. Here are the results...