Wednesday, May 28, 2014

Take Me Out to the Ball Game....

Spring is here and Summer is fast approaching. That can mean only one thing... Little League Season!!! Our time has been spent at practices and cheering on Big A.

He moved up in the League this year, no more Tee-Ball for our little slugger. he is officially in Single-A (Coach Pitch) this year. He plays for the Lugnuts. He is youngest kid on the team and the tallest.

His game has vastly improved and we are only half way through the season. I think is has something to do with his Handsome coach this year. I can say that because Jeff is his coach. He has been trying to drill the basics into the team. We have seen major improvements already.

On a side note I have made use of my newly acquired jewelry making skills and created "baseball" themed earrings for me and my Mom to wear while cheering on our little slugger. I was super pleased with how they turned out!


Monday, April 28, 2014

There's No Wrong Way to Eat a "Peep"... Three fun ways to eat your Easter Leftovers!


We had a "Peep-Tastic" Easter!!
 
One of our family favorites is the squishy, sugar coated goodness that is a peep;
Our kiddos even have "Peep" Easter baskets.  It's pretty awesome.
 
Peeps seem to last forever if you don't open the package so there is no race to snarf them down the week after Easter. I however have found 3 Fun ways that you should consider eating your peeps!
 
1. HARD
Yes you heard me correctly, hard. My favorite way to eat a Peep is to slice open the end of a package and let it sit for a couple of days. The result is a stiffer, less "smooshy" marshmallow. I love the more solid texture. One warning, don't let it sit open more than 3 days... you'll end up with a peep-rock! 
 
2. MICROWAVED
Try popping one of these little guys in the microwave for 5 seconds (WARNING: do not OVER microwave or they WILL explode!) It just ever so slightly warms the middle and crusts the outer sugar. It is a whole new experience.
 
3. COLD
Put a pack in the fridge overnight. The result is again a much stiffer texture on the marshmallow. It gives the impression of a less heavy, more refreshing snack.
 
However you eat your Peeps ENJOY!!!
 
Thoughtful Eater

MONSTER eater

Our Peep-tastic Easter


Thank you to Just Born for providing me with samples. The thoughts and opinions above are my own.


Monday, April 14, 2014

First and Last Day of School Free Printables

I have had lots of people asking for a printable version of the first day of school sign I made for Big A.

Well all you had to do is ask....

I created a "First day of School" and "Last day of School" for Preschool, Kindergarten and First Grade. If you are looking for a different grade just send me a message.

Click below for the printable PDF Versions:


Wednesday, April 2, 2014

First Day of Pre-School


 How is this possible??? Big A started Pre-School yesterday! He was so excited! We got up early and got him all dressed in his new uniform and headed out the door with plenty of time to spare (Daddy took the day off to take the little guy on his first day too!). We got to school plenty early and got to take him to his class to meet his new teachers and get started on the day before the other kids arrived.  The Teachers were super nice and put him right at ease. He was a little nervous showing them how he writes his name but he did a great job. When the other kids started to file in we gave him a quick hug and kiss good-bye and he happily waved us away, all ready for his new adventure. I think me, Daddy, and Addison were the more upset ones. We went to Kneaders for breakfast and lamented on missing the little guy. Even Addison chirped in with "I really miss Brudder!!" However it was so fun when we picked him up, hearing him relate his day to us, talking about all the things he did and people he met. Our little guy is growing up ... whether Mom and Dad are ready for it or not.


Monday, March 10, 2014

Easy Multi-Holiday Decor DIY


This is a Fun, Fast and EASY holiday craft that wont break the bank.
 The big bonus...It's reversible so you get multiple holiday use out of it!
( I made 2 sets so the above pic shows both sides)
 
Items Required: Mod Podge, Wooden Cubes (available at any Craft Store or ask Lowes to cute a 2" x 2" x 6' stick for you into cubes) Patterned paper cut into cute shape (I used my Cricut) and Vinyl Lettering (I used my Cricut, you can also buy letter stickers at ANY craft store)

Paint your wooden cubes
(I used white Valspar spray paint but you could use any color or type of paint you like) 

Next get out your Mod Podge and liberally apply it to one side of the cube 

Now Apply a layer of Mod Podge to your paper and place paper
on your Mod Podged surface. Let dry at least an hour.
 

Now apply your letters and apply another healthy layer of Mod Podge to seal the whole thing. Let dry another hour (waiting is the HARDEST part!)
 
Now repeat the whole process on the side of your cube
OPPOSITE the one you just finished.


Now you have a fun festive little decoration that you can use for multiple holidays!
I did Valentines "Love" and St. Pattys "Luck" but the possibilities are endless (Easter with "EGGS" ! )

* Note: I considered doing more than the 2 sides but realized that if you do the other sides kinda show when you display. Doing the 2 sides ensures that you wont see the other design.

Wednesday, February 19, 2014

Breakfast Muffin "Egg McMuffins"


This is a FANTASTIC breakfast recipe that is actually pretty easy to do but makes you look like you are quite the chef. I used a Rachel Ray Recipe as my jumping off point and have refined it over the last couple of years. If you want to sound all fancy call it a "reconstructed egg sandwich" I call it "Egg McMuffin Muffins". Whatever you call it it's sure to please your breakfast bunch.

The below list makes 4 Muffins, Easy to Double, Triple Etc..

Ingredients:

Butter (For Greasing the Pan)
4 Slices of White Bread
2 Slices Kraft American Cheese (Quartered)
2 Slices Canadian Bacon (Halved)
4 Eggs

Instructions:
Pre-Heat Oven to 350 Degrees

Generously Butter Muffin Pan

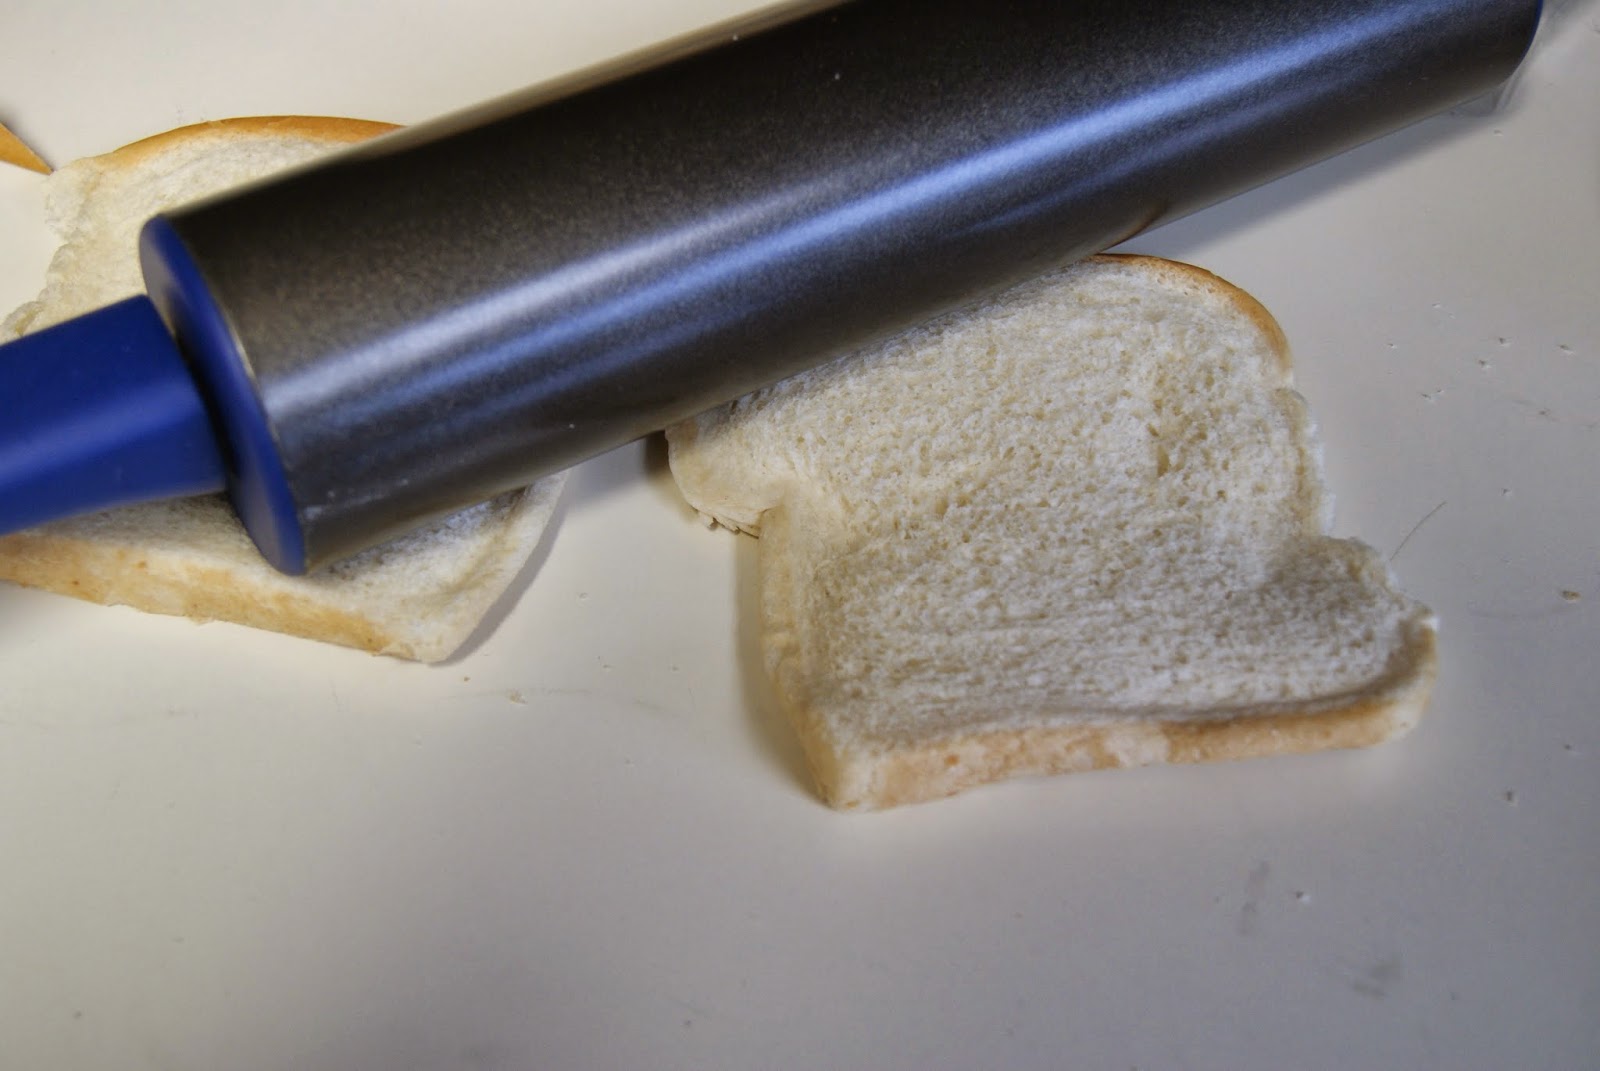
Use a Rolling Pin to Gently Flatten your Bread Slices

Cut Bread into Large Circles (I use a 4" Bowl as a Guide)
Then Cut in Half

Gently (you don't want holes) push 2 bread halves into
Muffin cup to create your Bread Shell


Brown 2 Slices of Canadian Bacon
(On Medium, One Minute Each side)

Press 1 1/4 slice American cheese in the bottom of your bread cup

Add 1/2 slice Canadian Bacon

Add an egg to each cup (it might overflow a bit, that's fine)

Bake 25 minutes ( Or until egg is fully set)

Add another 1/4 slice of american cheese and put back in the oven for a couple of minutes (until melted)

The bread gets Toasted while the Egg is Cooking and the Cheese gets melted...
Delicious!
 

Monday, February 3, 2014

Crappy Game but a SUPER Bowl anyway.....

Superbowl was weird this year. The whole thing sort of sneaked up on me. We were going to have a big shindig but I didn't get invites out and it looked impossible to plan. The weather was so bad on the east coast that they weren't positively saying that it would be on Sunday this year...(maybe Saturday, Maybe Monday...what?!?!). So we decided to go low-key this year, just have Mine and Jeff's parents over. I still decorated and had WAY too much food.

The game was a total bust. Regardless of who you were rooting for (we unfortunately wanted Denver to pull it off) the game stunk. The commercials were Eh, Halftime was okay but not brilliant. Overall it would have been pretty disappointing except the food was fantastic (Jeff even grilled!) the company was excellent and the kids were super cute.

 Next Year.... GO BEARS!!!!