Showing posts with label Design. Show all posts

Thursday, August 13, 2015

The Parade of Homes with HGTV Raised Kids


When I think about the Salt Lake Parade of Holmes I am filled with nostalgia. I have wonderful memories of going through these amazing Mansions with my mom as a kid. Awestruck by the pools, tennis courts, kitchens. I have wanted to share this with my kids but I thought they were still a bit too young.
 Then a few months ago we were visiting some friends way out west in the Salt Lake valley in an up and coming area. Their neighborhood was surrounded by new developments all touting open model homes. On a whim we stopped by one to see what it was like. A and a were great, nicely looking through the house, examining the fun new features. When we left Big A said “Mommy do you think we’ll be on TV?” laughingly I asked him “Why would we be on TV?” “Well on “Love it or List it” of course! I didn’t even see David there.” (FYI “Love it or List it" is an HGTV show about remodeling your house or buying a new one). We obviously watch enough HGTV that it has filtered down to A and a. As we were headed back home A and A both begged to go see more houses. That was it, I knew the Parade of Homes would be a fun family adventure.
We got our passes, loaded the Parade of Homes app on our phones and off we went. The Parade is a scattered site event but the App provides you perfect turn by turn GPS directions to all the houses. To not overwhelm the kids we did 5 -6 houses at a time. The houses are located in general “clusters” and made breaking up our visits really easy.
My worries about the kids being too small were quashed on the first site we visited. They loved exploring the big houses, checking out cool features (Movie Room!, Waterfall Glass Hallway floor!, Hidden Pantry door to the garage!) and pointing out not so cool features (Glass walled showers in the front of the house!, Tiny kids rooms!, a Bidet! EW!).  They have picked up way more HGTV than we thought “Mom doesn’t this look like a wall the “Property Brothers” would have done?” Big A said of a cool reclaimed wall.
Of all the houses though the kids only claimed one was a “List It” (meaning we’d sell our house to buy that one) and Jeff and I actually agreed... if we had $1.5 million to spend. It was heartening that of all the other cool houses they still liked our house better.
After we had hit the houses we’d planned and were headed home both A and a were  whining in the back seat of the car “We wanna see more houses!” For all the parents who think that the Parade of Homes isn’t for their kids, reconsider.
Thank you to the Salt Lake Home Builder’s Association for providing us passes to the Parade of Homes. All views and opinions are my own.


Tuesday, November 25, 2014

Turkey Tie Tee


I love Thanksgiving time. The Wonderful Food, Being with family, warm festive feelings of love and thanks, what more could you ask for in a holiday?

Well I have one think… a cute “thanksgiving” themed shirt for big A. For girls you can find dressed, tutu’s, embellished tees and accessories all adorned with turkeys and such in all girl sizes. For boys they have cute baby things, and Carters sometimes has holiday things up to 5T but if you’re a boy and bigger than that you’re outta luck. This stinks for a fun holiday loving little guys like Big A who happens to be a size 7/8!

Crafty Mom to the rescue! I created a fun and festive Tee for him that is comfortable, festive and can count as “dressing up” for dinner.

Turkey Tie Tee

1 Solid color tee, black or brown (I got one on super sale at JoAnn’s)

1/8 yard “fancy” thanksgiving fabric (I did a fun brown brocade print)

Felt (or fabric) Scraps in Orange, Red, Black and White

1/8 yard paper backed fusible webbing

Sewing items (Sewing machine or Needle and thread)
 
Cut out Tie (patterned material), whites of eyes (White), pupils (black) "Gobbler" red and beak (orange)
I just cut them out freehand, make sure your tie fits your tee 

Attach paper backed fusible webbing to all your cut pieces

Tack down the tie using paper backed fusible webbing
**Only do Tie at this point

Stitch around all seams (I used a sewing machine)
**Do each piece in order, tack down Tie and sew,
then tack down whites of eyes and "gobbler" and sew,
last tack down pupils and beak and sew.

The finished product

Big A wearing is Turkey Tee last year
 

Monday, July 14, 2014

Winter in July...A "Frozen" Birthday


I have to say that I never thought that I would be creating snowflakes in July but when your little girl says that all she wants is a “Frozen” birthday you do what you gotta do. Little a has been telling everyone that she is having a “Frozen” birthday for weeks.
As crazy as it seems since Frozen came out last Thanksgiving it is still hard to find “Frozen” items. I have been on a total hunt, scouring Ebay, Etsy, amazon, stalking our local target for anything Frozen. I was able to find Frozen party ware… in Las Vegas, only had to travel 400 miles for that (so happy I looked while on Vacation) …lol. Other than that I created all the party items and did the cake. Little a was So happy with the results!
Birthday Poster showing Little A throughout the last year


She's not spoiled at all... (Said totally sarcastically)

Little A's birthday Dinner

Little A Opening her Prezzy's

Making a Wish...


Monday, April 14, 2014

First and Last Day of School Free Printables

I have had lots of people asking for a printable version of the first day of school sign I made for Big A.

Well all you had to do is ask....

I created a "First day of School" and "Last day of School" for Preschool, Kindergarten and First Grade. If you are looking for a different grade just send me a message.

Click below for the printable PDF Versions:


Monday, March 10, 2014

Easy Multi-Holiday Decor DIY


This is a Fun, Fast and EASY holiday craft that wont break the bank.
 The big bonus...It's reversible so you get multiple holiday use out of it!
( I made 2 sets so the above pic shows both sides)
 
Items Required: Mod Podge, Wooden Cubes (available at any Craft Store or ask Lowes to cute a 2" x 2" x 6' stick for you into cubes) Patterned paper cut into cute shape (I used my Cricut) and Vinyl Lettering (I used my Cricut, you can also buy letter stickers at ANY craft store)

Paint your wooden cubes
(I used white Valspar spray paint but you could use any color or type of paint you like) 

Next get out your Mod Podge and liberally apply it to one side of the cube 

Now Apply a layer of Mod Podge to your paper and place paper
on your Mod Podged surface. Let dry at least an hour.
 

Now apply your letters and apply another healthy layer of Mod Podge to seal the whole thing. Let dry another hour (waiting is the HARDEST part!)
 
Now repeat the whole process on the side of your cube
OPPOSITE the one you just finished.


Now you have a fun festive little decoration that you can use for multiple holidays!
I did Valentines "Love" and St. Pattys "Luck" but the possibilities are endless (Easter with "EGGS" ! )

* Note: I considered doing more than the 2 sides but realized that if you do the other sides kinda show when you display. Doing the 2 sides ensures that you wont see the other design.

Tuesday, October 15, 2013

Easy Peasy DIY Photo Magnets

I Love the idea of Photo Magnets. Having your favorite pics on the fridge without having them swoop out from behind a magnet. I however do not like the idea of paying $5+ for a 2" x 4" magnet from the photo places. I often get emails for "free" magnets that turn out still being over $4 for shipping and handling... No Way!

I decided to try my hand at creating some and found out that you can EASILY (seriously it IS easy!!!) make these yourself for...(drum roll)...free!

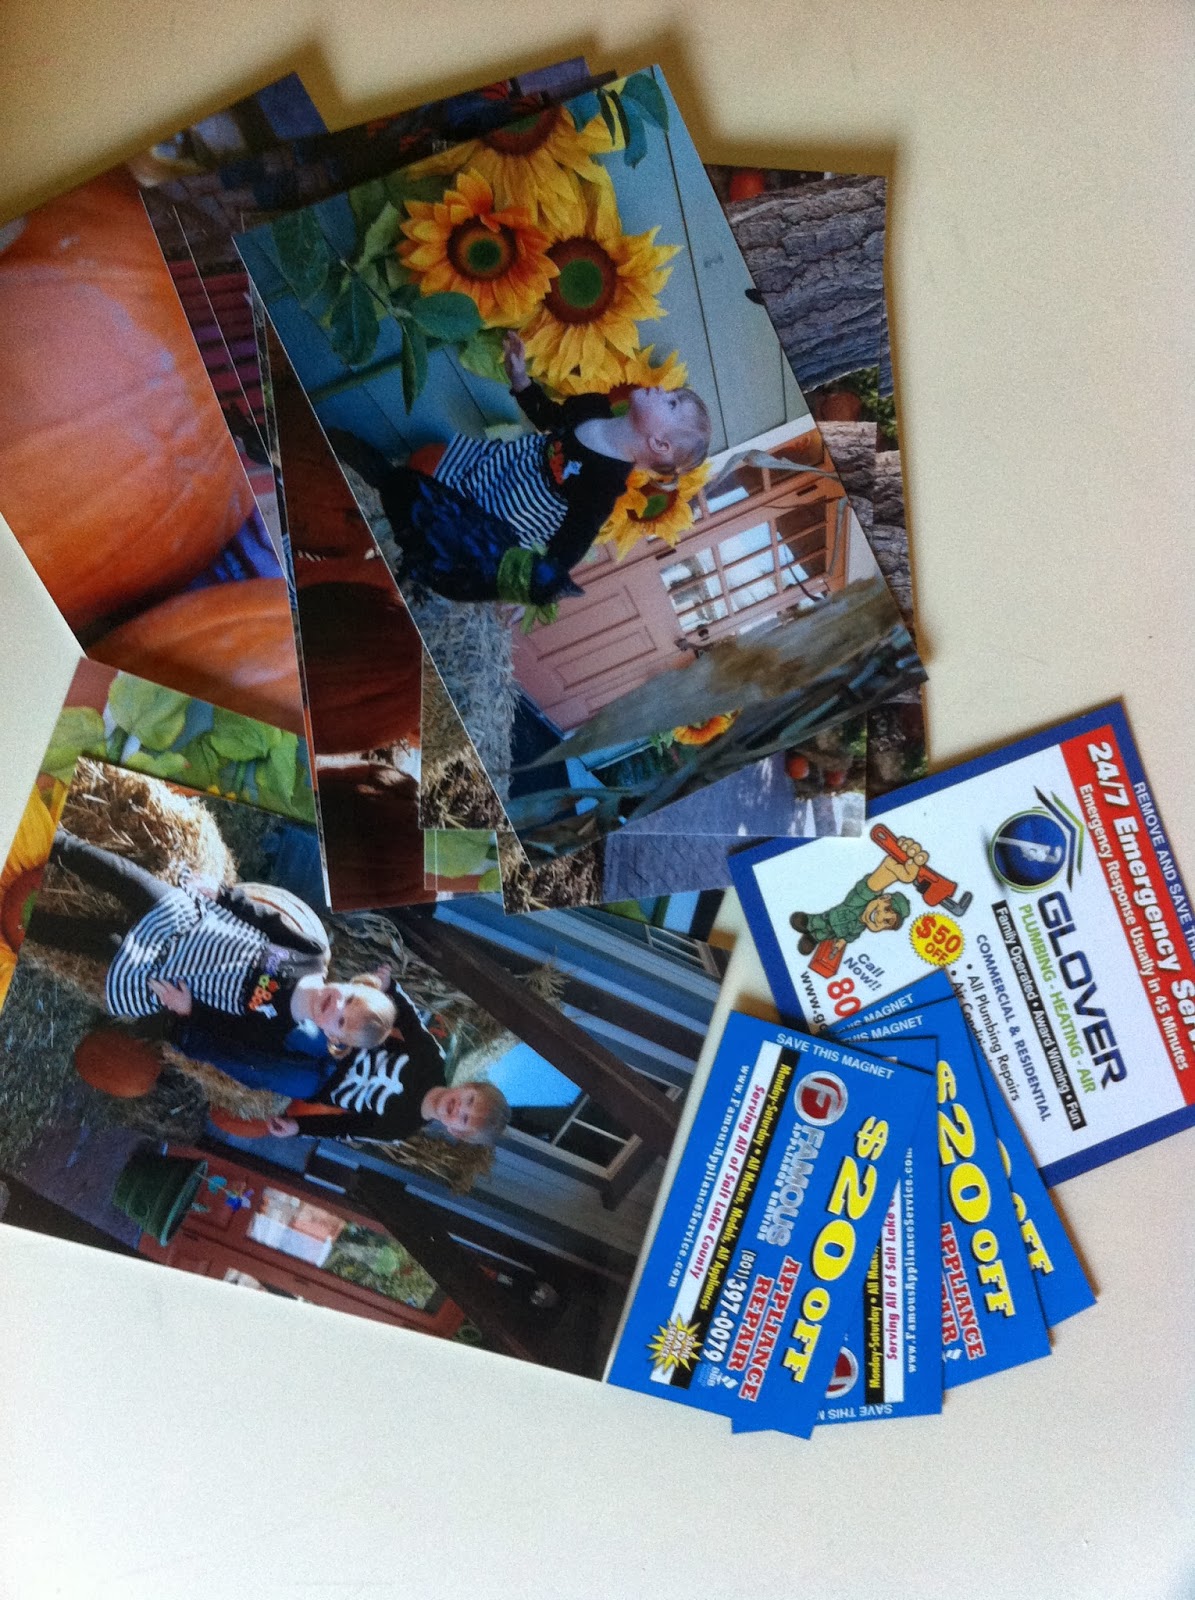
To start off you need to collect any advertising magnets you come across. One place you can easily find a few is attached to your phonebook. When my office got new phonebooks this fall I asked if anyone minded if I filched all the magnets, no one minded, SCORE! 20+ magnets. Now that you are thinking about them you will find that they are all over the place. I have found them at restaurants, the vets office, our cable company office. All over. SO when you happen upon some, grab a few for later use. You can buy sheets of magnet at the craft store but its is really pricey and really with all the freebies out there you don't need to.

Now that you have your magnets all you need is some glossy pictures, adhesive (double sided tape, sticker maker, tape runner etc) and scissors.

First Gather your photos and advertizing magnets


Next cut your magnet and photos to the same size.
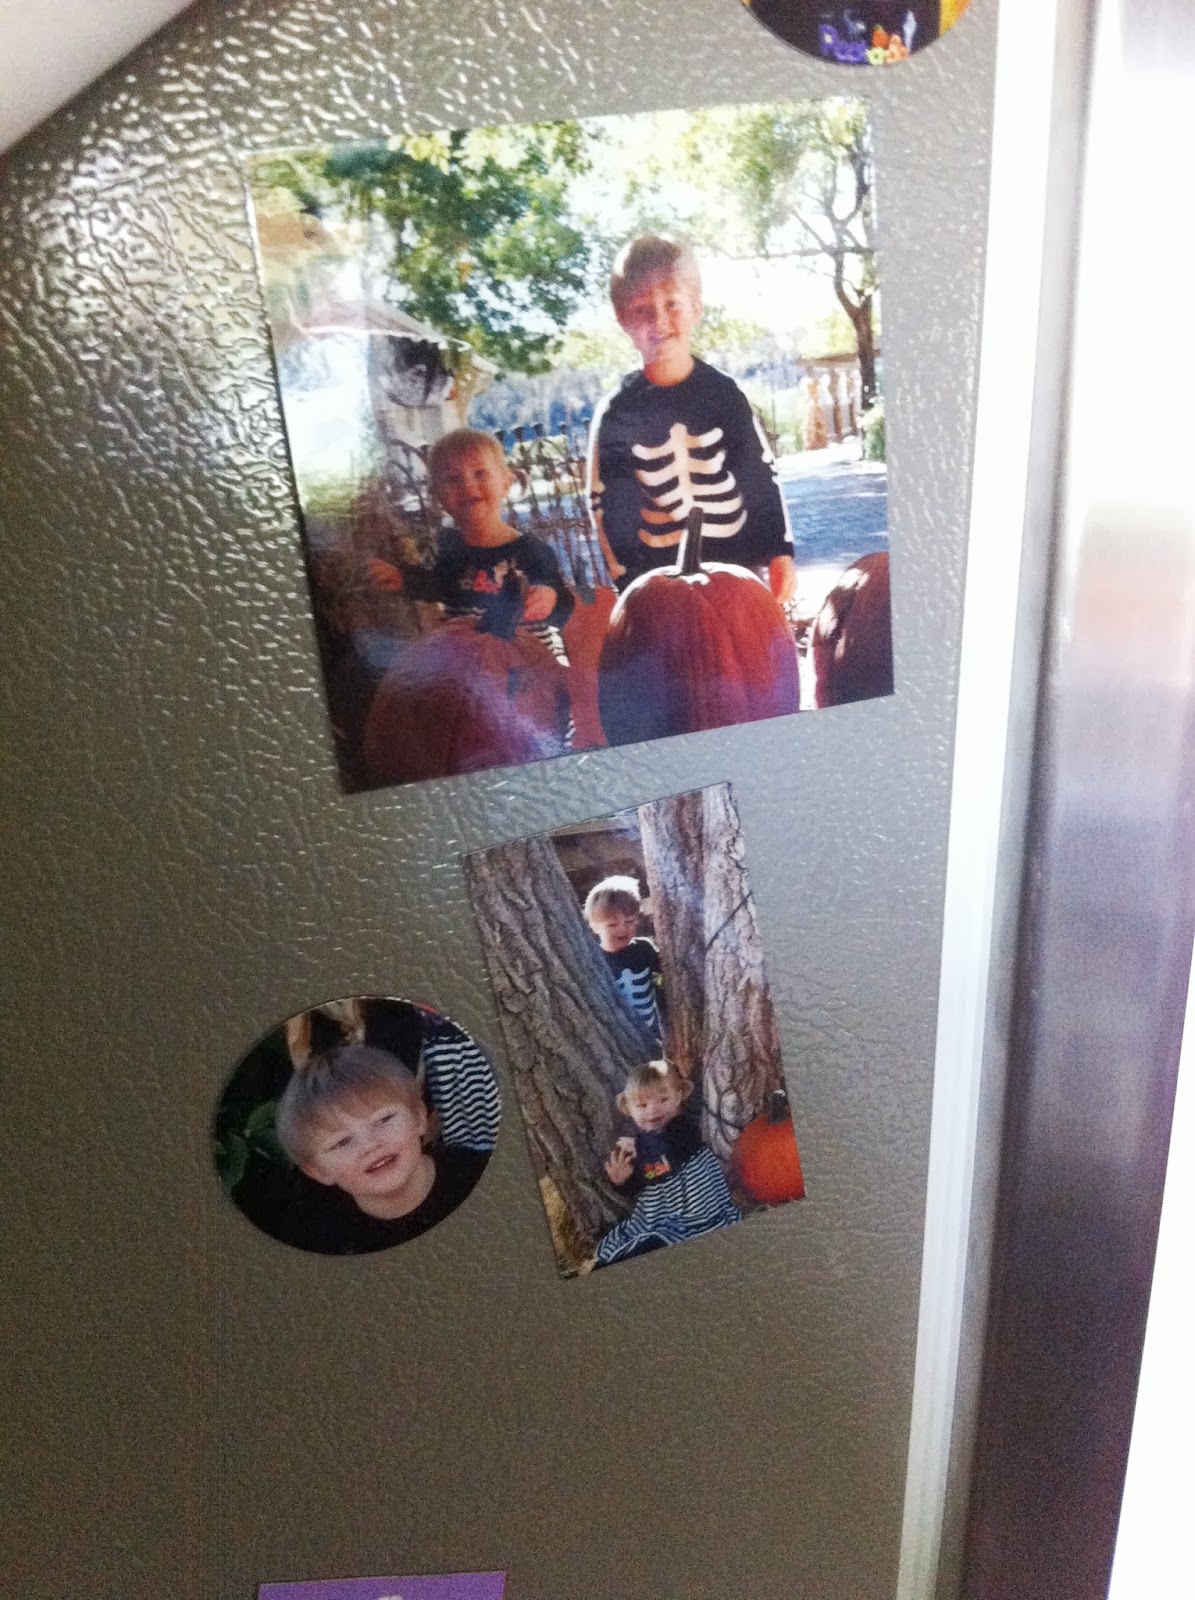
 (I like to do different shapes, Here I did 2" round ones with a large punch I have.)

Next apply adhesive to your photos.
(I used the Xyron creat-a-sticker, but you could use double sided tape,
  a tape runner, or even a strong glue stick)

Next Carefully line up your photo to the pre-cut magnet and stick them together

Ta Da! Truely Free Photo Magnets!!

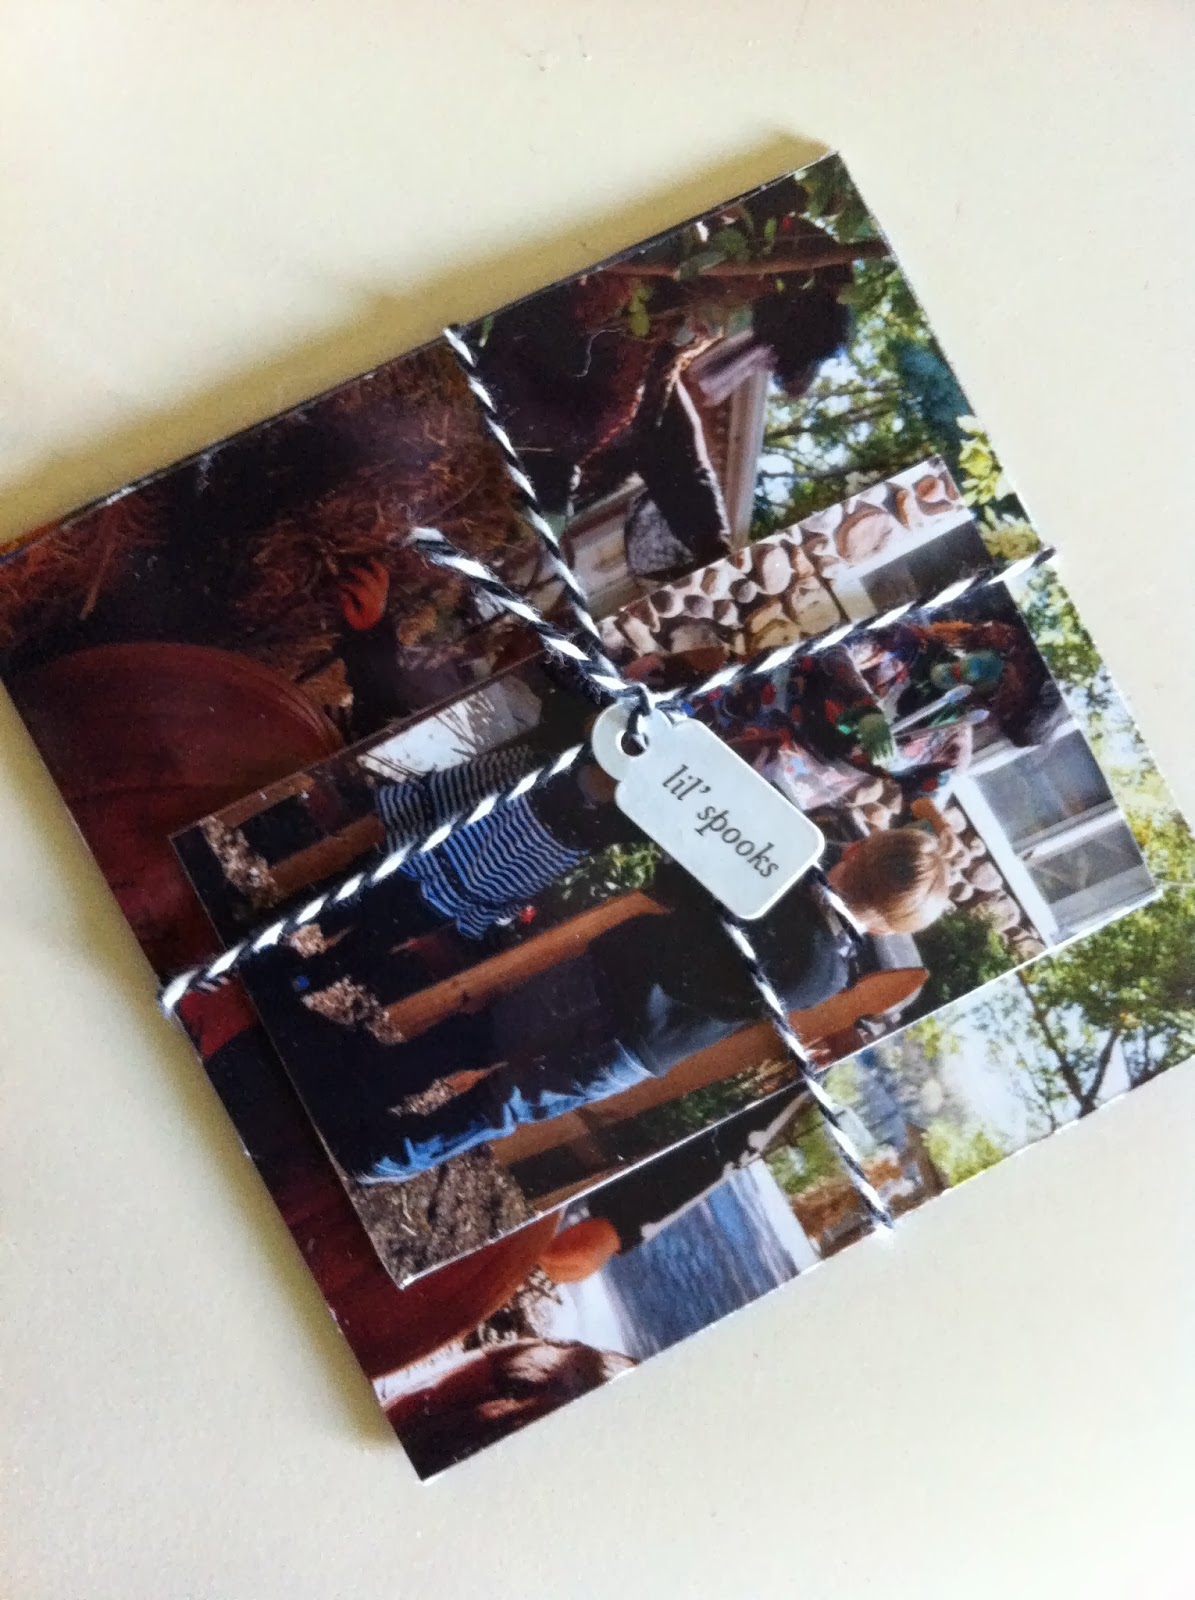
I like to make little bundles for the grandparents for holidays.
Fast easy presents that they love and can actually can use.


Wednesday, October 2, 2013

Spooky Halloween FREE printable!

Where has the summer gone?!?! I was reminding Mom the other day that "Sons of Anarchy" was coming back. SHe said "O really? I didn't think it was coming back until September." Um Mom..... It IS the middle of September!! I know how she feel though, I am not quite in the "Fall" vibe yet.
 
That being said I AM getting all geared up for Halloween. All the stores are getting their decorations in and pinterest is absolutely FLOODED with Halloween pins. It is getting me really excited!
 
While I was looking around Pinterest I saw these AWESOME "You have just been poisoned" etched glasses from etsy...( They are avaliable HERE).
 
 I loved the idea but not the thought of spending that kind of money on a new set of glasses OR trying to find a place to store them after halloween. I came up with a simple and easy way to achieve sort of the same effect (Not nearly as awesome as the etched ones though). I created a template to print off and then I am just going to "glue" them to the bottom of some clear glasses with NON-Permenent tape runner. (You could also use double sided tape!) I created a free printable PDF so you too can "poison" some of your Halloween friends ;)
 
The original...My inspiration!

Here is my printable sheet for you!
http://freepdfhosting.com/bb0cd39a6b.pdf


Monday, April 30, 2012

Bathroom Decorating


It is finally done!! We have had the basement bathroom finished for over a year but it had no style, no pizzaz. I have searched and searched for art that really worked, I was especially drawn to vintage bath pics of kids.  Then I looked in my own bathtub. I got some cute shots of A and A and had them printed in black and white. I got some fun thrift store frames and spray painted them glossy white (The oval frame was an old gold one that my mom actually found in storage right after I told her I was looking for an oval frame! score!) I think it turned out nice and classic looking with a personalized touch. Here are the results...